3D Printer Guides

حُرِّرت من قبل
marketing
Why Choose the FLSUN V400?
The FLSUN V400 marked the beginning of a new generation of high-speed, pre-assembled 3D printers. At a time when achieving exceptional print speeds often required building and tuning complex machines such as Voron printers, the V400 offered a ready-to-use solution that delivered similar performance with significantly less effort.
Traditional high-performance printers like Voron require extensive knowledge of 3D printer hardware, software configuration, and assembly. Building a Voron can take anywhere from several days to over a week, depending on experience and the availability of components. In contrast, the FLSUN V400 arrives pre-assembled and factory-tuned, allowing users to start printing almost immediately.
Built for Speed
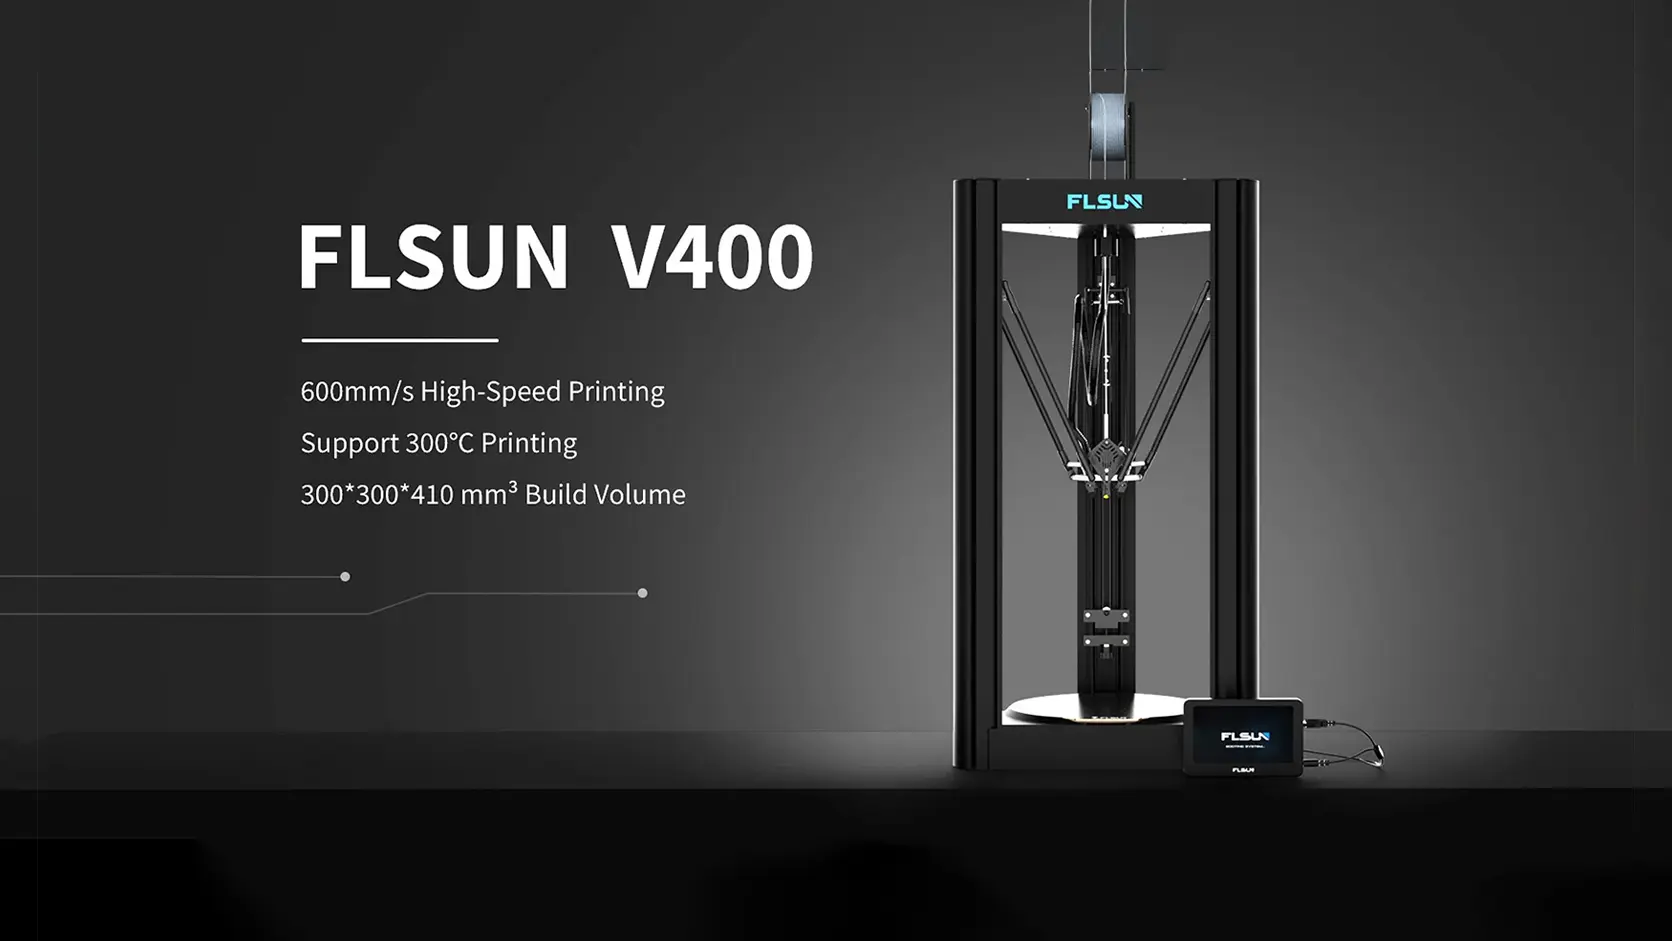
The FLSUN V400 was designed from the ground up for high-speed printing. It features:
-
Print speeds up to 400 mm/s
-
Acceleration up to 8000 mm/s²
-
Factory-installed Klipper firmware
-
Lightweight Delta frame architecture
-
High-strength carbon fiber arms
The integration of Klipper firmware is one of the key factors behind the V400's performance. Klipper offloads processing tasks and enables advanced motion control, allowing the printer to maintain impressive speeds while preserving print quality.
The Advantage of Delta Design
Unlike traditional Cartesian printers, the V400 uses a Delta motion system. The lightweight moving components and carbon fiber rods reduce inertia, enabling faster acceleration and smoother movement.
This design offers several advantages:
-
Higher print speeds
-
Reduced vibration
-
Improved motion efficiency
-
Better overall print quality at high speeds
The combination of Delta kinematics, carbon fiber arms, and Klipper firmware creates a platform capable of producing quality prints at speeds that were previously difficult to achieve on consumer-grade machines.
So, Why FLSUN?
Many printers on the market require significant upgrades before they can reliably print at high speeds. Users often need to replace components, install custom firmware, and spend countless hours tuning settings to achieve acceptable results.
The FLSUN V400 takes a different approach.
It comes equipped with many of the modifications and performance enhancements that enthusiasts typically add later, making it one of the most complete high-speed printing solutions available right out of the box.
While the hardware is already well-designed, the printer continues to benefit from ongoing software improvements. Since it runs Klipper, users can take advantage of new features, optimizations, and community-developed enhancements as the firmware evolves.
Optimizing Your FLSUN V400
Although the V400 performs exceptionally well in its stock configuration, there are several software tweaks, configuration improvements, and hardware upgrades that can further enhance reliability, print quality, and user experience.
In this guide, the SWbAC engineering team will share recommended upgrades, settings, and optimizations to help you get the most from your FLSUN V400.

Cura Profile
The original Cura profile for the FLSUN V400 can produce good prints, but some settings may lead to print quality issues. To improve performance, the SWbAC team developed an optimized Cura profile that addresses several common problems.
Improvements Included
-
Reduces nozzle hitting or scratching printed parts
-
Makes supports easier to remove
-
Optimizes infill settings
-
Improves Z-hop and retraction behavior
Download
The SWbAC Cura profile can be downloaded using the link provided alongside this article. Download Cura Profile
See the Difference
Watch the YouTube video below to compare the original FLSUN Cura profile with the optimized SWbAC profile and see the improvements in print quality and reliability.
Pressure Advance Tuning
Pressure Advance helps improve print quality by compensating for pressure changes inside the nozzle during acceleration and deceleration. Proper tuning can reduce corner bulging and improve overall print consistency.
Step 1: Run the Tuning Commands
Open your printer's web interface and enter the following commands in the console:
SET_VELOCITY_LIMIT SQUARE_CORNER_VELOCITY=2 ACCEL=8000

TUNING_TOWER COMMAND=SET_PRESSURE_ADVANCE PARAMETER=ADVANCE START=0 FACTOR=.002
Step 2: Download and Slice the Test Model
Download the Pressure Advance test model and slice it with the following settings:
-
Top Surface Skin Layers = 0
-
Top Layers = 0
-
Infill = 0%
The model should be completely hollow.
Step 3: Print and Measure
Print the test model and inspect the surface.
Measure the height from the bottom of the model to the point where the print defects disappear and the walls look best.
Step 4: Calculate the Pressure Advance Value
Use the following formula:
Pressure Advance = Start + (Measured Height × Factor)
Example:
Pressure Advance = 0 + (12.1 × 0.002)

Pressure Advance = 0.0242
Step 5: Update printer.cfg
Open printer.cfg and locate the [extruder] section.
Add or modify:
pressure_advance = 0.0242
Replace the example value with your calculated result.
Save the file and restart Klipper.
After tuning, your FLSUN V400 should produce cleaner corners, more accurate dimensions, and improved print quality at high speeds.
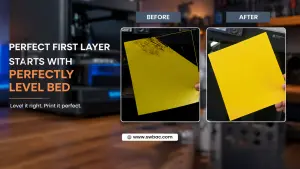
FLSUN V400 Bed Leveling For Best First Layer
The FLSUN V400's bed leveling accuracy can be significantly improved with a few simple configuration changes. Since the printer uses a fixed bed design, small adjustments to the probing settings can greatly improve first-layer consistency and overall print reliability.
Step 1: Open printer.cfg
- Enter your printer's IP address in a web browser.
- Open the Fluidd interface.
- Navigate to Machine → printer.cfg.
Step 2: Modify the Probe Settings
Search for the [probe] section and make the following changes:
speed: 5
samples: 5
Why These Changes?
Speed: 5
- Reduces probing speed for improved accuracy.
- Improves probe repeatability and consistency.
Samples: 5
- Takes five measurements at each point.
- Uses the average value to reduce incorrect readings.
Step 3: Improve the Bed Mesh
Locate the [bed_mesh] section and change:
round_probe_count: 23Why Increase the Probe Count?
- Increases the number of measurement points across the bed.
- Creates a more detailed and accurate bed mesh.
- Improves first-layer consistency, especially across larger prints.
Note:
The value should always be an odd number to ensure the center of the bed is measured.
Uploading Gcode from Cura directly to the Printer
-
-
Uploading G-code files directly from Cura to your FLSUN V400 is quick and easy with Moonraker integration. No additional hardware is required.
Step 1: Install Moonraker in Cura
Open Cura Marketplace
Search for Moonraker Connection
Install the plugin.
Step 2: Connect Cura to Your Printer
Copy your printer's IP address.
In Cura, go to Manage Printers
Click Connect Moonraker
Paste your IP address into the Address (URL) field.
Click Save
You can now upload G-code files directly from Cura to your printer.
Adding Thumbnail Images to Print Files
Thumbnail images make it easier to identify print files on both the printer screen and the web interface.
Enable Thumbnails in Cura
Go to Extensions → Post Processing → Modify G-Code
Click Add Script twice.
Configure the scripts as follows:
Script 1
Width: 32 px
Height: 32 px
Script 2
Width: 400 px
Height: 400 px
After slicing, thumbnail previews will appear on the printer display and in the browser interface.
Enabling Object Exclusion
Object exclusion allows you to cancel a failed object during a print without stopping the entire job.
Step 1: Edit printer.cfg
Open your browser and enter the printer's IP address.
Open Fluidd.
Navigate to Machine → printer.cfg.
Add:
[exclude_object]Click Save & Restart.
Step 2: Edit moonraker.conf
Locate the [file_manager] section and change:
enable_object_processing: TrueClick Save & Restart.
Object exclusion is now enabled.
Hardware Upgrades for the FLSUN V400
The FLSUN V400 already comes with excellent hardware and delivers outstanding performance out of the box. However, a few upgrades can further improve print quality.
Upgraded Fan Duct
One of the most popular upgrades is the cooling fan duct.
An improved fan duct provides:
Better airflow distribution
Improved overhang performance
Better bridging results
More consistent cooling
You can either:
Download and print the upgraded fan duct yourself.
Purchase a ready-made version.
Our recommended version is printed using UV Tough Resin, which helps prevent air leakage and improves durability.
-
الوسوم
مقالات مشابهة

التصنيفات
3D Printing Kuwait
(1)
3D Printer Guides
(1)
Creality Ender 3 Upgrades & Modifications
(1)
3D Printer Upgrades & Calibration
(1)
3D Printing Guides & Tutorials
(1)
Programming 3D Printers
(1)
3D Printer Troubleshooting
(1)
أحدث المنشورات
3D Printer Troubleshooting
2026-06-24Programming 3D Printers
2026-06-243D Printing Guides & Tutorials
2026-06-23

أرشيف
Jun 2026
(7)
المزيد من marketing
3D Printer Troubleshooting
2026-06-24Programming 3D Printers
2026-06-243D Printing Guides & Tutorials
2026-06-23